Your New Screen Deserves a Perfect Start
Congratulations on your new monitor! Whether it's a high-refresh-rate gaming beast or a color-accurate professional display, the first step after unboxing is crucial: checking for pixel defects. A single tiny flawed pixel can be incredibly distracting. This guide will walk you through everything you need to know about finding and dealing with them using our free dead pixel test.
Step 1: Understand What You're Looking For
Not all pixel defects are the same. Here’s a quick breakdown:
- Dead Pixel: This is a pixel that is permanently off. It will appear as a tiny black square on any colored background.
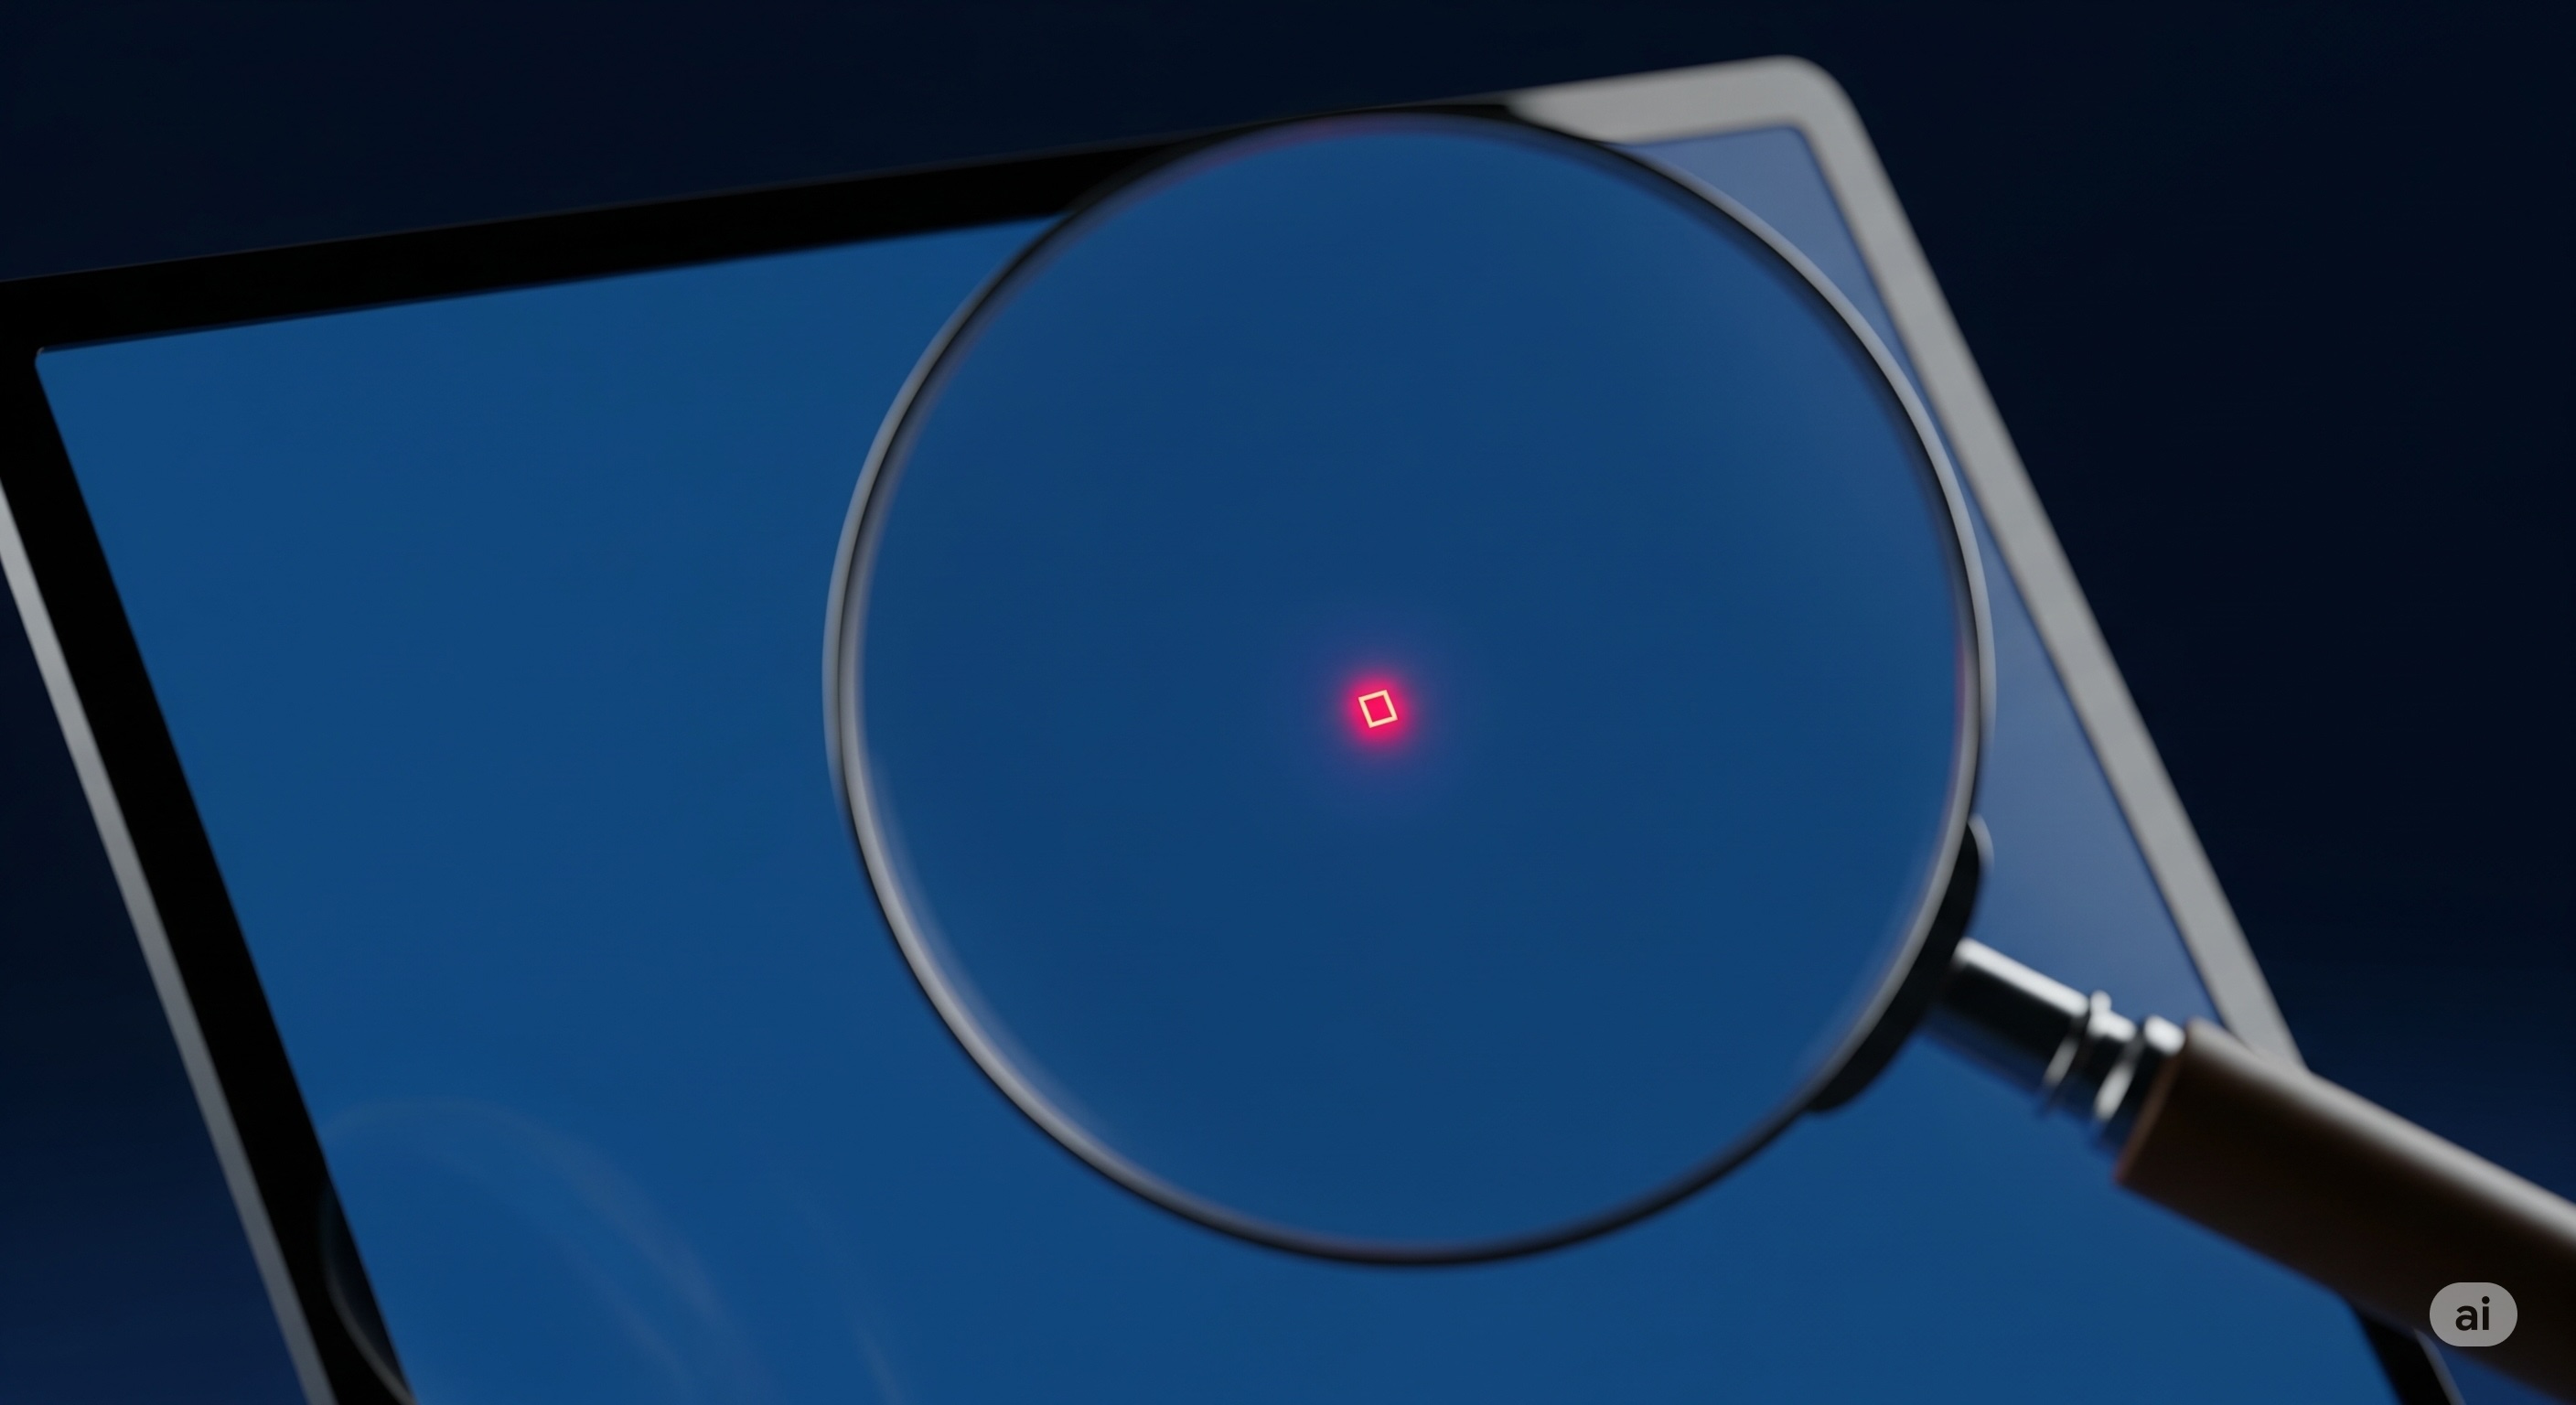
- Stuck Pixel: This pixel is permanently "on". It will show up as a solid color—either red, green, or blue—and won't change when the screen color does. This is the most common type of defect.
- Hot Pixel: This is a pixel where all sub-pixels are stuck in the "on" state, making it appear as a tiny white square. It's most visible on a black background.
Step 2: How to Perform a Flawless Pixel Test
Finding these tiny dots is easy with the right method. Follow these steps for the best results:
- Clean Your Screen: Dust and smudges can easily be mistaken for pixel defects. Use a soft, dry microfiber cloth to gently wipe your screen.
- Go to Our Tool: Navigate to the ScreenTestPro Dead Pixel Test.
- Enter Full-Screen Mode: Click the button on the page to go full-screen. This removes all distractions.
- Cycle Through Colors: Click your mouse or tap your screen to switch between solid colors (Black, White, Red, Green, Blue). A solid background makes it easy to spot any pixel that doesn't match.
- Inspect Closely: Carefully examine every part of your screen on each color. Pay special attention to the center and edges.
Step 3: Found a Defective Pixel? Here’s What to Do Next.
Don't panic if you find one. Here’s your action plan:
1. Identify and Document: Note the color and location of the pixel. Take a clear photo if you can; this will be helpful for warranty claims.
2. Check Your Warranty: Most manufacturers have a "dead pixel policy" that specifies how many defective pixels are acceptable before they will authorize a return or replacement. A single dead pixel might not be covered, but a cluster of them or a certain number of stuck pixels often is. Check the manufacturer's website for their specific policy.
3. Try to Fix a Stuck Pixel (At Your Own Risk): While dead pixels are permanent, stuck pixels can sometimes be fixed. You can try tools that flash a rapid sequence of colors in a small area of the screen to try and "unstick" the pixel. Disclaimer: Attempt these methods at your own risk, as improper handling could damage your screen.
4. Contact Support or Return the Product: If your monitor's defects fall within the warranty coverage, contact the manufacturer or the retailer immediately. The sooner you report the issue, the smoother the return or exchange process will be.
Running a dead pixel test is a simple, 5-minute check that provides peace of mind and ensures you get the quality you paid for. Happy testing!
